
Front Squat Form: What to Know About Technique and Grip
Good front squat form starts with a stable shoulder shelf, balanced foot pressure and a controlled descent. The bar rests across the front of your shoulders while your hands help steady it. Choose a manageable load that lets you practise each part of the movement without rushing. Your grip, stance and depth should support a position you can repeat comfortably. Treat the setup as part of every repetition, giving yourself time to settle before you move.
How do you establish a stable starting position?
Establish a stable starting position by resting the bar across your shoulders, raising your elbows and settling your feet before descending. Begin with a stance around shoulder width and toes turned slightly outward. Adjust these starting points to suit your proportions, keeping your weight balanced across your whole foot.
Position yourself under the bar before lifting it from the rack. Once it is supported, step back deliberately and let it settle. Avoid beginning the descent while your feet are still moving. Your hands should guide the bar rather than carry its weight; check that it sits evenly across both shoulders.
Make one stance adjustment at a time. Changing width and foot angle together makes it harder to identify which change improves balance. Use the same deliberate setup throughout your practice.
What are the main front squat grip options?
The main front squat grip options are a clean grip, a crossed-arm grip and a strap-assisted grip. Each steadies a bar supported primarily by your shoulders. Choose the option that lets you maintain an even shoulder shelf and raised elbows without forcing your wrists into an uncomfortable position.
With a clean grip, place your fingers underneath the bar. Avoid insisting on a full-hand hold if doing so pulls your elbows down. With crossed arms, reach over the bar and check that both elbows stay raised rather than allowing one side to drop.
For the assisted option, secure lifting straps around the bar and hold their loose ends with your elbows pointing forward. This provides handles when reaching underneath feels restrictive. Practise your chosen hold with a light load before deciding whether it gives you reliable control.
How do you brace and breathe before each repetition?
Brace by taking a breath and firming your trunk before descending, maintaining that support through the hardest part of the repetition. Keep your ribs positioned over your pelvis rather than arching your lower back to raise your chest. At the top, reset your breathing and balance before beginning again.
Raising your elbows should preserve the shoulder shelf without tipping your rib cage upward. Set that position before bending your knees and hips together. If your posture changes while you are still preparing to move, reduce the load and rebuild the setup.
Give each repetition a clear beginning and finish. Returning to standing is an opportunity to check that the bar remains settled and your feet remain planted. Avoid letting the pace of the set replace a deliberate reset.
How deep should you squat?
Descend as far as you can while keeping the bar supported, your feet grounded and the movement controlled. Your usable depth depends on your current mobility, proportions and skill. Stop before you lose balance or your position noticeably collapses; reaching a particular depth is not a reason to force discomfort.
Let your knees move broadly in the direction of your toes, including forward as needed to maintain balance. If your heels repeatedly lift, try adjusting your stance or reducing depth during practice. Change one feature at a time so you can judge the result.
Purpose-built lifting shoes or a stable squat wedge can change the ankle position required. Avoid resting your heels on objects that may shift. As you stand, resist throwing your hips upward to rescue a bar that is tipping forward.
What changes in a front squat vs back squat?
The main difference is bar placement: the front-loaded version supports the bar across your shoulders, while the back-loaded version places it across your upper back. This changes the balance demands and usually encourages a more upright torso with the front-loaded lift. Both exercises train the legs, with technique varying between individuals.
A useful front squat vs back squat comparison considers setup comfort, movement control and your training goal alongside the weight lifted. The load you use for one variation does not transfer directly to the other. Learn each position with a manageable weight before making comparisons.
Choose the variation you can set up and repeat consistently with the equipment available. If either position feels difficult to establish, identify the specific setup problem before increasing the load.
Frequently Asked Questions
How can I check my technique on video?
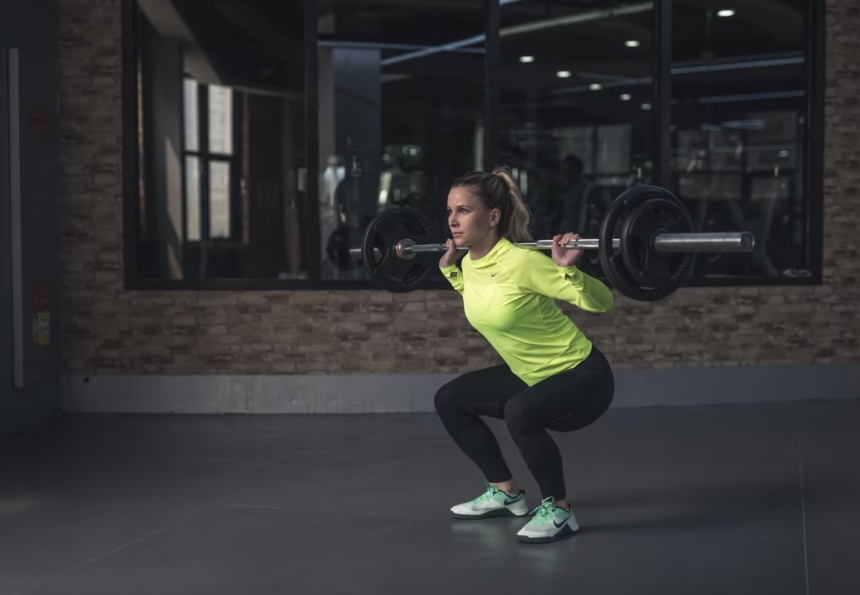
Film a set from the side at roughly hip height, keeping your entire body and the bar visible. Check whether your heels stay down, the bar remains supported, and your hips and shoulders rise together. A front-angle recording can also help you inspect uneven bar placement or changes in knee direction.
Should beginners choose this variation first?
Beginners can start with this variation if they can establish the shoulder shelf and repeat the movement comfortably with a light load. Neither bar position is automatically best for everyone. Front loading demands a secure rack position, while back loading requires comfortable shoulder positioning; a coach can help assess both.
What should I check before adding more weight?
Check that your final repetition is as controlled as your first before adding weight. A set that starts well but ends with dropping elbows, lifting heels or a changing torso position needs further practice. End the set when control deteriorates, and address the specific difficulty before progressing the load.